You finally got that brand-new snowboard and can’t wait to put it to the test? Before you hit the slopes, there’s one more thing you need to do: adjust your bindings. Fortunately, that’s easy – with the tips and tricks from our INTERSPORT Rent snowboard experts!
How do I properly adjust my snowboard bindings?
First things first: There’s no right or wrong when it comes to adjusting your snowboard bindings. The perfect adjustment always depends on the rider and his or her build and athletic aspirations. The most important aspect is that your board’s setup feels right for you.
Adjusting your snowboard bindings involves two steps:
- Mounting the bindings onto your snowboard.
- Adjusting the bindings to your boots.
Let’s start with the mounting!
Setting your snowboard stance
The stance refers to the bindings’ position on the snowboard. Before attaching the bindings to your board, you should check the following:
1. Goofy or regular?
In other words: What’s your riding stance?
- Goofy: You ride with your right foot forward.
The right binding is placed at the nose (tip) of your snowboard, the left binding at the tail (rear end). - Regular: You ride with your left foot forward.
The left (front) binding is placed at the nose, the right one (rear) at the tail of your board.
Our tip: If you’re unsure which foot is forward, simply do the “push test”. Get a friend to give you an unexpected shove from behind. The foot you put forward is most likely your frontfoot on the snowboard.
Alternatively, you can try what stance feels most comfortable to you when riding a skateboard and arrange your snowboard’s bindings accordingly.
2. Stance: the correct position of the bindings on the board
The following questions are important for correctly setting your snowboard stance:
- How close to the nose and tail do you attach your bindings?
- At what angle do you attach them?
- How big is the distance between your left and your right foot?
- What holes do I use to attach the binding?
NB: To adjust your bindings correctly, you should know your preferred riding style.
Our tip: New snowboards usually have a “reference stance” marked next to the second and fourth screw hole. That’s the position manufacturers recommend for beginners and all-mountain riders.
3. The distance between your bindings
The width of your reference stance determines
- how well you can control your snowboard
- how comfortable you feel during riding
A general rule of thumb: Most riders feel comfortable with a stance that roughly equals their shoulder width. To determine the exact distance, measure from the centre of your binding’s front mini disc to the centre of the rear mini disc.
Once you have determined the correct stance, lightly screw in your bindings, but make sure that the screws are still loose for the next step.
Our tip: The wider your stance, the more stability you have on your board. This ensures greater safety not only in the snow park, but also on the slopes.
4. The position between nose and tail
How close the bindings are placed to the nose and tail depends on your snowboard and riding style.
How to mount bindings on different types of boards:
Freestyle board: centred (equal distance to nose and tail)
The centred position in the middle of the board makes it easier to ride backwards – the perfect precondition for cool tricks!
Freeride board: slight setback of one to one and a half centimetres (from the centre of the board towards the tail)
This position allows you to shift your weight forward, follow the line of the nose and float through powder more easily.
All-mountain board: same or similar position to freeride boards
Would you like to know more about the different types of snowboards? Check out our general information on snowboards or buyer’s guide for first-timers!
5. Adjusting the angle of your bindings
We’re talking about the binding and mini disc itself now. To adjust the angle of your binding, start at a neutral position, at zero degrees. Turn the disc to the desired angle. The degrees on the mini disc go from about minus 20 degrees to plus 20 degrees, allowing you to see at which exact angle your binding is set.
Our tip: If you’re a beginner, it’s a good idea to go with the neutral stance as this is the easiest position for riding forwards.
For freestylers:
Most freestylers swear by the duck stance. This position matches a positive front binding angle with a negative rear binding angle. The front angle often is a bit smaller than the rear angle, resulting in a central V position. This stance is perfect for riding backwards as well as for tricks and rotations, as your weight is evenly distributed over the board.
We recommend: about +15 degrees in the front, –15 degrees in the back
Our tip
Bring a small tool when you first try your new snowboard out on the slopes. This allows you to adjust your settings if necessary.
For freeriders:
For freeriders, we recommend a slightly narrower stance. To achieve this, mount both bindings at a positive stance angle. This position allows you to apply more pressure to the edges during turns. In combination with a slight setback (see item 4), this gives you the perfect stance for fantastic powder rides.
We recommend: max. +21 degrees in the front, +9 degrees in the back
For all-mountain riders:
If you don’t want to settle for one riding style, we recommend a moderate duck stance (see freestyler section) combined with a slight setback (item 4). This gives your edges more grip and you get more stability and flexibility for tricks and powder descents.
We recommend: about +15 degrees in the front, between –9 degrees and +6 degrees in the back
Once you have set your desired angle, place the binding back on your board. Attach it to the mini disc, using the provided screw holes of your snowboard. Make sure that the mini disc is flat with no give.
6. Fit the snowboard bindings to your boots
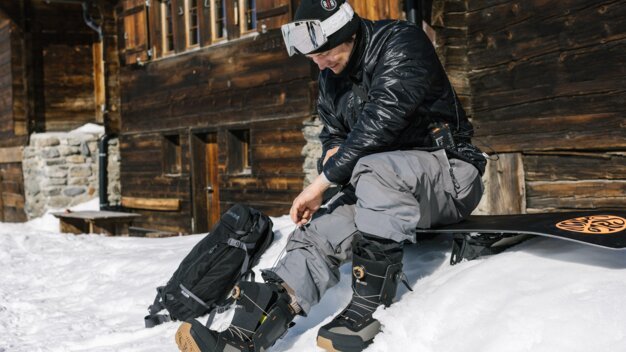
The last step is to adjust the bindings to your boots. To do so, follow these four steps:
- Place your boot in the binding.
- Centre your binding so that the heel overhang is about twice as big as the toe overhang.
- Adjust the highback (vertical plate of your binding). Freestylers usually prefer a vertical position or a slight forward lean. Freeriders and all-mountain riders benefit from a more forward lean. The highback affects both your posture and transmission. For binding angles greater than +15 degrees, a rotation makes sense, so the highback is parallel with the heel-side edge.
- Adjust the straps. For an even pressure distribution, the straps (ankle and toe strap) should be adjusted in a central position.
Need new boots? Find out everything you need to know in our article about snowboard boots!
INTERSPORT Rent tip
You have found the perfect stance? Congratulations! Write down the angles and adjustments so that you can quickly recreate your setup if your bindings must be dismounted for repairs.
Make sure to tighten all screws before your first ride – and you’re good to go!


